
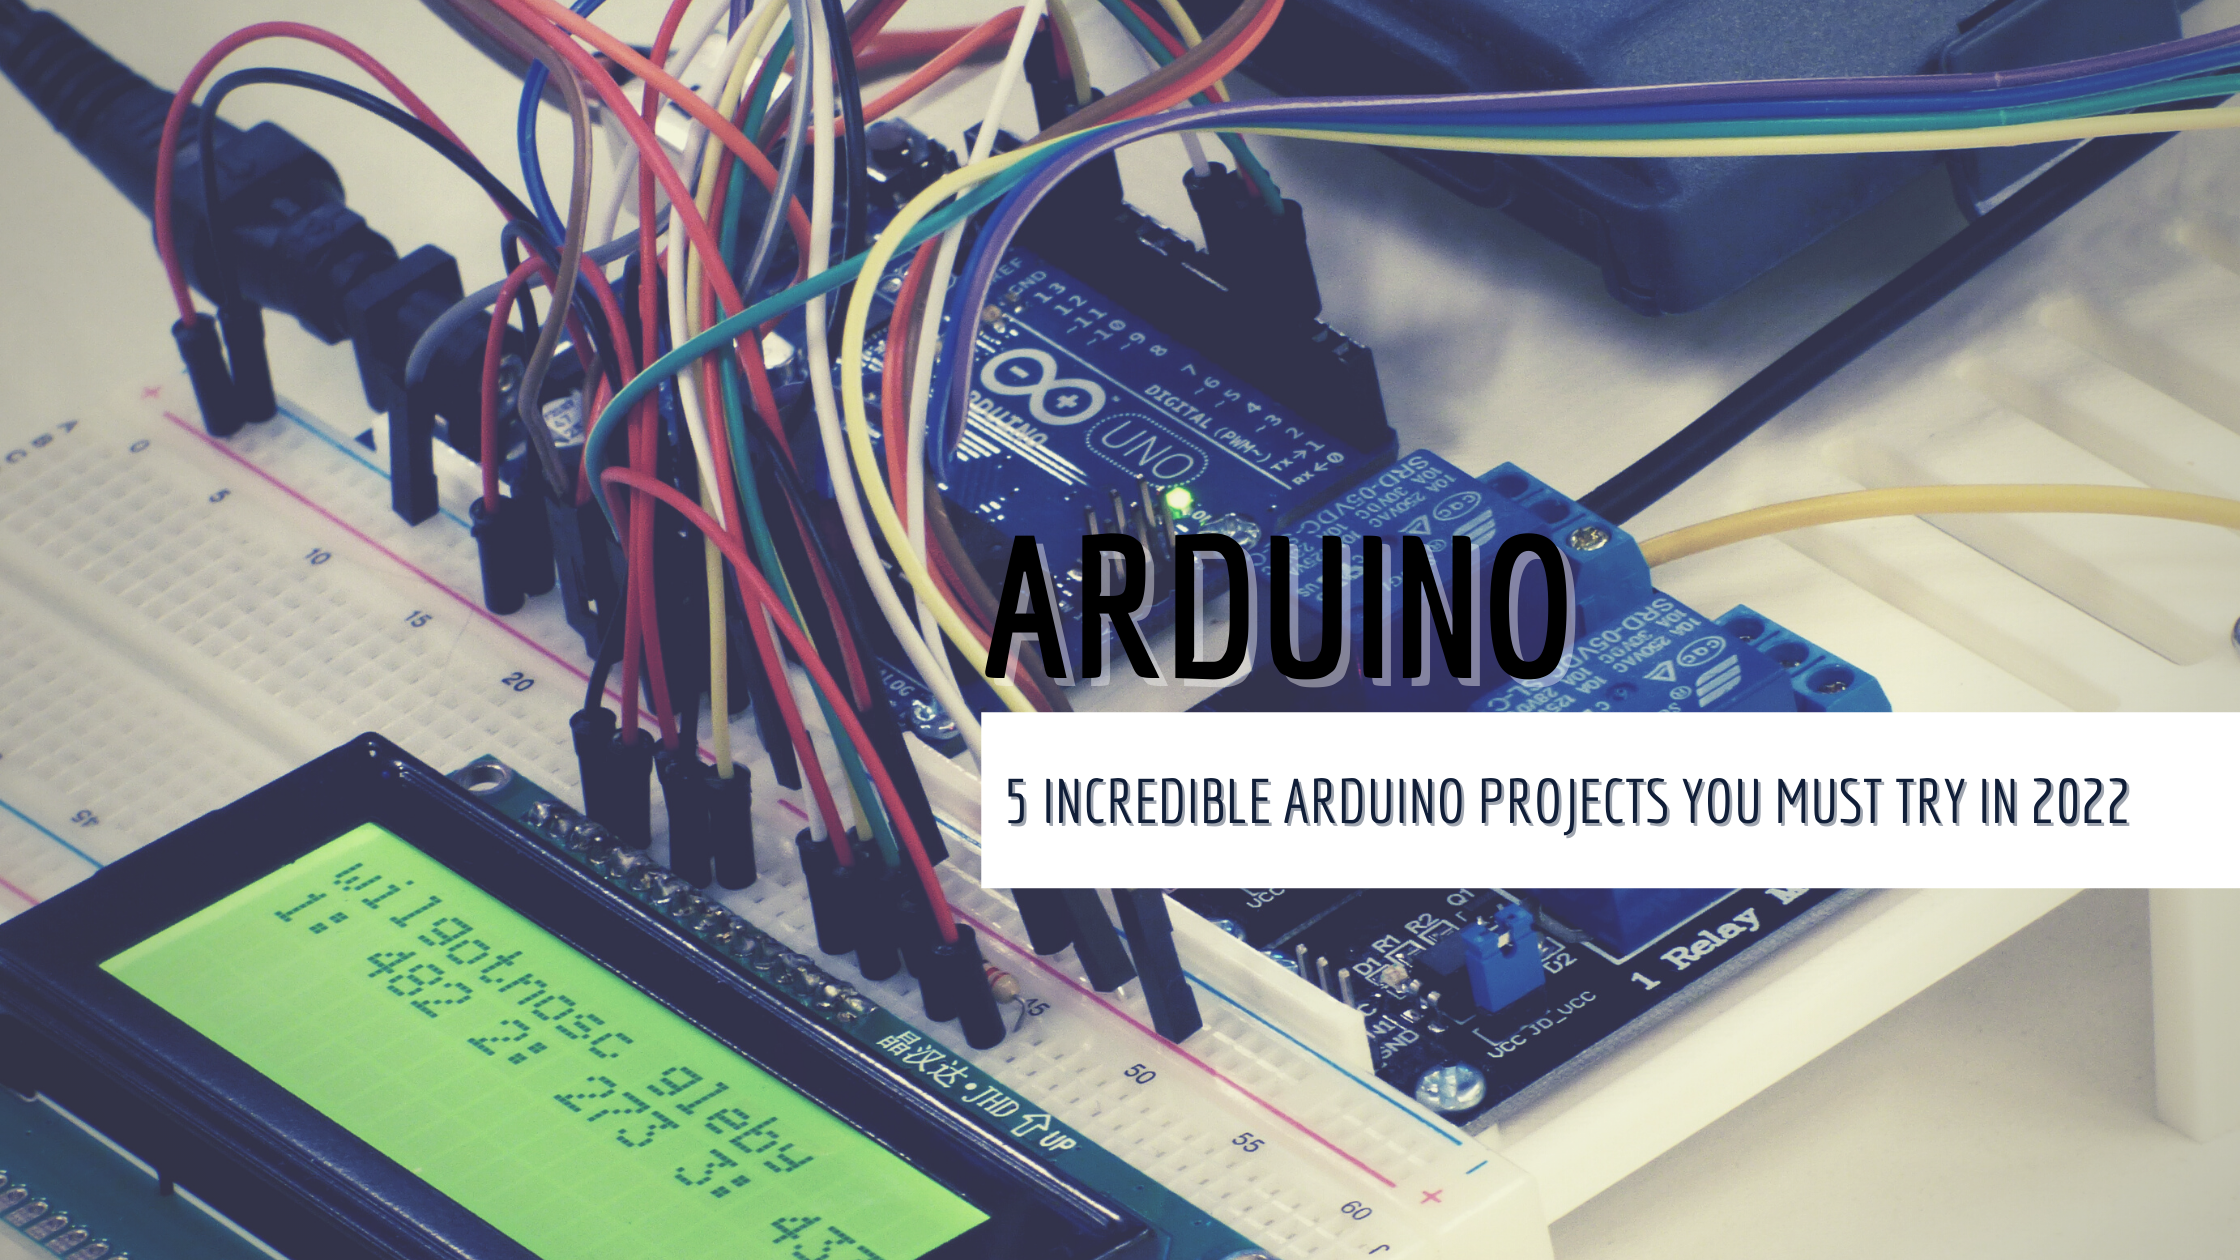
Have you got Arduino but don’t have any idea what to do with it? We got you! Below are 5 incredible projects you can do with Arduino. But before anything else, let’s first have a glimpse of what’s Arduino all about. You probably have questions in mind regarding today’s topic.
According to Open Source, An Arduino is an open hardware development board that may be used to design and build devices that interact with the real world. While Arduino refers to a certain sort of board design, it can also refer to a firm that produces a specific implementation of these boards, as well as the community that surrounds compatible boards manufactured by other persons or companies that function in a similar manner.
Arduino is an open-source electronics platform based on simple and easy hardware and software. Arduino boards can take inputs – such as light from a sensor, a finger on a button, or a Twitter message – and convert them to outputs – such as turning on an LED, triggering a motor, or publishing anything online. By providing a set of instructions to the board’s microcontroller, you may tell it what to do. The Arduino programming language (based on Wiring) and the Arduino Software (IDE) (based on Processing) are used to accomplish this.
The Arduino platform has grown in popularity among those who are just getting started with electronics, and for good cause. Unlike most prior programmable circuit boards, the Arduino does not require a separate piece of hardware (known as a programmer) to load new code into the board; instead, a USB cable is all that is needed.
For a newbie, the world of Arduinos can be intimidating, but we’ve got you covered! Now, let’s hop on the list of incredible Arduino projects you must try in 2022.5
1. Do-It-Yourself Arduino Handheld Game Console. Are you a gamer? Well, gaming on your smartphone or iPad is fun, but nothing compares to the excitement of building your own game system and playing with it. If you want to learn how to do it, you may watch this video where you can learn how to make an Arduino handheld GameBoy game console. It’s a remote gaming system with an Arduino micro and an OLED display, even smaller than the GameBoy pocket. This is an Arduino-compatible system, which is a credit card-sized 8-bit gaming platform that makes open-source games simple to understand, share, and play. You can either play games created by others or create your own for it. You only need to have the following:
- 1 x Arduino micro
- 1 x 5-way tactile switch
- 1 x slide switch
- 1 x buzzer
- 1 x Tactile switches
- 1 x SPI OLED Display
- 3.7V Battery
- Power connector
2. Arduino Robotic Car. This sounds so exciting! Who would have thought you can make your own Robotic Car? Obstacle Avoiding Robot is an intelligent gadget that can detect and avoid obstacles in its path by rotating itself in a different direction. This design enables the robot to travel in an unfamiliar environment while avoiding collisions, which is a must for any autonomous mobile robot. Obstacle-avoidance robots have a wide range of applications, and they are utilized by a variety of military organizations to assist in the completion of a variety of dangerous tasks that would otherwise be impossible for soldiers to do. What do you need to get this done? Other than Arduino UNO, you need to have the following:
- Chassis OR any toy car
- Ultrasonic sensor HC SR-04
- 2 x DC motors
- 9V/12V 1A battery
- Motor driver module L298
- Jumpers
- Single-stranded wires
3. Universal Remote Control. You know, when laziness hits, we just want everything to be controlled in a way that we don’t exert too much effort. If you have too many remote control in your house and you got confused about which ones are for this and that, you need this! Do you want to get rid of all of your remote controls and replace them with a single universal remote? You can with this project! You will turn a standard Keyes infrared (IR) remote into a programmable universal remote by completing this project. Do you want to learn more? You can check out the full tutorial by ScottC on Hackster.io!
4. Alarm Security System. Feel safe and secure. With Arduino, you can have both! Security systems are frequently both costly to install and maintain. Why not make your own for less than $30 using an Arduino and a few additional modules? You will build a laser tripwire alarm system in which the alarm will sound once the laser beams are severed and will not stop until a button is hit. You may even set up a passcode to make it even more secure by requiring a passcode to stop the alarm. If you want to learn more, you may check out the full tutorial by SurtrTech on Hackster.io!
5. GSM Mobile Phone Powered by Arduino. Do you think your phone is too bulky or too expensive for you? Why not try your hand at making one that is both light and capable of national and international features?
This Arduino phone can make and receive phone calls, as well as send and receive SMS messages. It connects to the mobile network through a GSM module and displays GUI interfaces on a Nextion display. Wow! If you’re interested to learn more about this project, you can see the full tutorial by Avishek at Hackster.io!
With Arduino, you can create more projects other than these 5 mentioned projects! Do not limit yourself. Discover more, so you can develop more.
Thousands of projects have used Arduino throughout the years, ranging from simple household items to complicated scientific apparatus. This open-source platform has united a global community of makers – students, hobbyists, artists, programmers, and professionals – whose contributions have added up to an enormous quantity of accessible knowledge that may be of tremendous benefit to beginners and experts alike.
For more Arduino projects, keep posted and we’ll show you more!