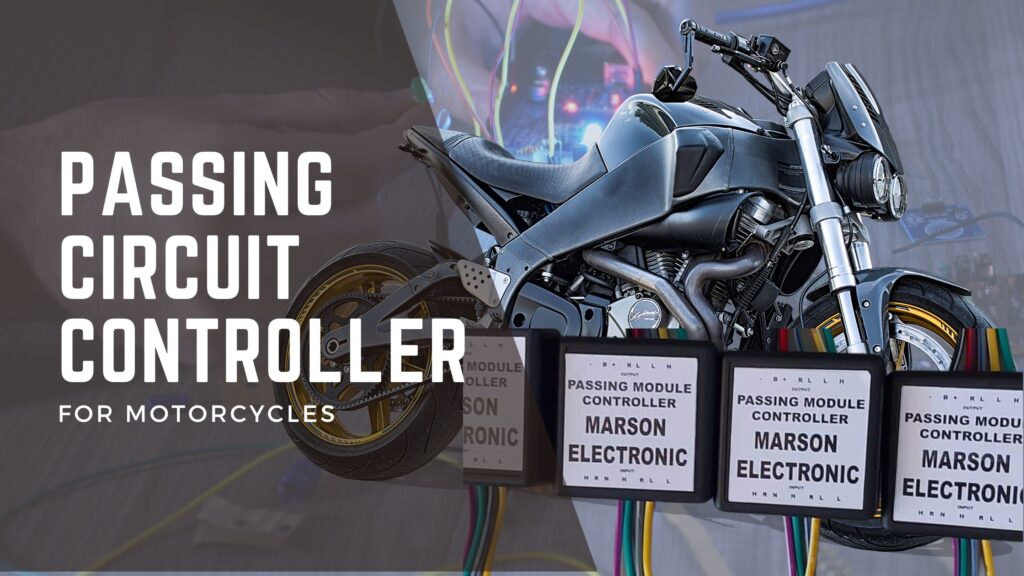
In this article, I will discuss my project, Passing Circuit Controller, which I have designed for motorcycles.
To those who don’t know what a control module is, here’s a short definition: A control module is a single entity that performs fundamental control functions. Sensors, controllers, actuators, and other control modules comprise a control module. Control modules cannot execute procedural control; instead, they are relied upon to do specified actions by procedural control. Because a control module is a shared resource, it may be created and configured to work on one or many batches at the same time.
What is Circuit Control?
Circuit control devices are used to “turn on” and “turn off” current flow in an electrical circuit. Circuit control devices have many different shapes and sizes, but most circuit control devices are switches, solenoids, or relays. A switch is the most common circuit control device.
Passing it is a way to tell the other vehicles that there is another vehicle behind them or in front of them, it is generally used instead of a Horn, and on highways where heavy vehicles can’t hear your bike’s horn, so we use the pass button.
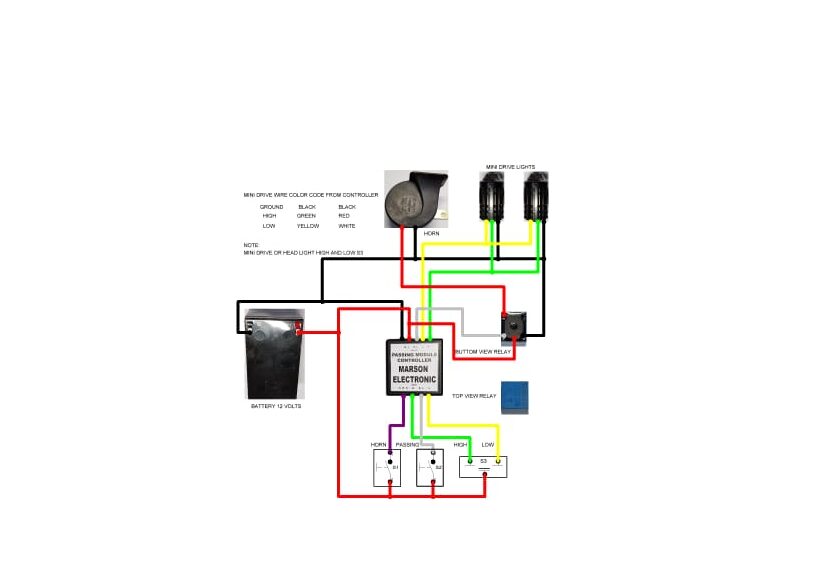
I will show you the wiring diagram and how it functions. Here is the illustration:

Parts and Functions
Lights
There are high and low switches, as shown in the third switch from the left. Turning on the ‘Low’ in the third switch will produce a ‘low light’. Similarly, turning on the ‘High‘ mode on the same switch will activate the ‘high light.‘
Passing
When you click on the second switch, ‘passing,’ both the horn and the mini drive high lights activate during the day, At night when the mini drive lights activate either HIGH or LOW if you press the passing switch it will activate the horn together with mini drive lights depend on the status of the lights if it is high will goes low or vice versa. When the passing switch is enabled, the electric pressure first goes to the relay to activate the horn, then the electric current coming from the circuit (module) travels to the mini-drive lights.
Why is it called Passing?
This was taken from the word ‘Passing Mode’- when the horn and light are activated simultaneously. It’s just a switch on your bike that when pressed will give a high beam light and switches off once released. Same as the high beam flasher in cars. The purpose is to alert the oncoming traffic about your presence.
Horn
The horn is activated when the first switch is turned on. When you press on to activate the horn, it will simply create a beep but no lights, unlike the passing switch.
Passing Module
All of the output has passed via the passing module first. As shown in the layout, the passing module is found in the center. It acts as a conduit for the electricity to traverse before it reaches the final output. The first switch is for High and Low, the second switch is for Passing, and the third is for Horn. All of these switches are linked directly to the module.
Note:
The Passing Module Controller for motorcycles allows you to manage the horn while using the lights from the mini drive, which is usually applied during nighttime driving.
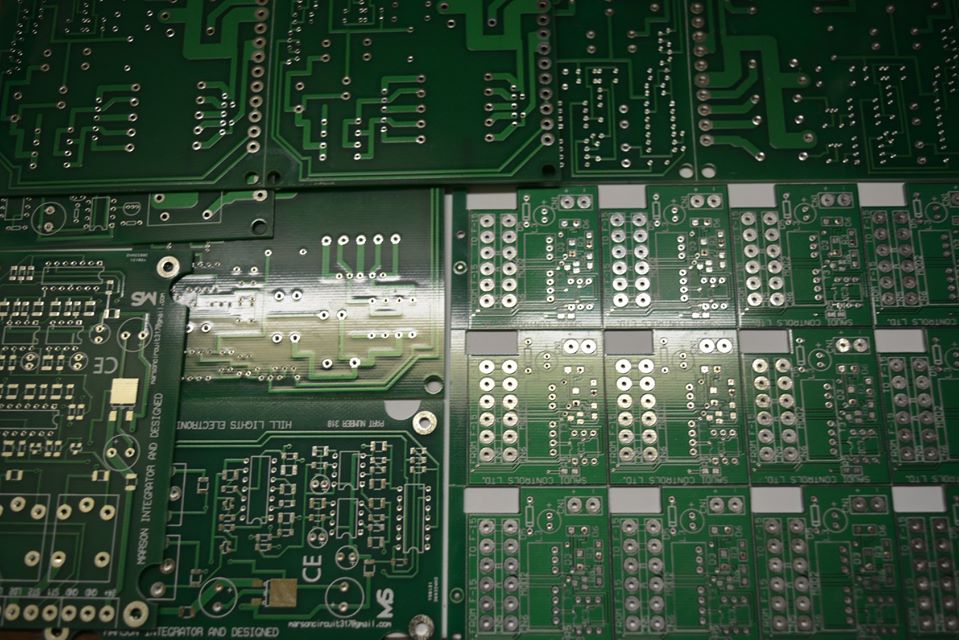
This project has an Arduino nano Atmega 328p-au microcontroller plus power transistor Mosfet drive circuit, a development module that features which is more powerful voltage regulation and a lower minimum operating voltage.
Wirings and Controller
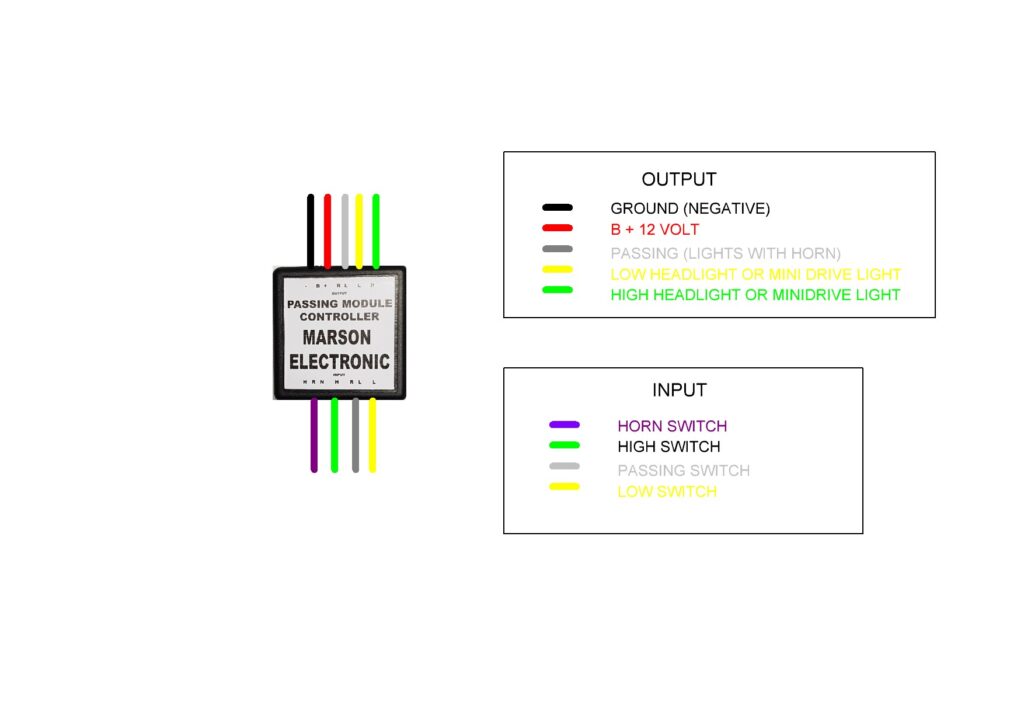
The passing module controller in the middle is linked to both the input and the output. The wirings connected to the controller provide a pipeline for various functions:

For Output:
Black wire: The ground wire is the black wire attached to the passing module controller (negative). A ground wire’s purpose is to provide a safe path for excess electrical charges.
Red wire: This wire is a B+12 Volt. When the switch is on, the red wire will supply power to the outlet.
Gray wire: This wire is for passing (lights with horn)
Yellow wire: Low headlight or mini drive light
Green wire: High headlight or mini drive light
For Input:
Purple wire: Horn Switch
Green wire: High Switch
Gray wire: Passing Switch
Yellow wire: Low Switch
For more projects, subscribe and we’ll show you more.

